Manage Media With the iconik Uploader
The number of assets managed by iconik has risen 225% since the end of 2020. That means 69.6 million assets have been uploaded to iconik this year already.
That’s a lot of uploads.
Many files are added automatically as users connect existing storage to iconik, but manual uploads are still part of the day-to-day creative work. As our users uploaded their content, they had some requests.
Iconik users asked for more upload options:
- “Let me drop folders from finder into iconik.”
- “Make it easier to upload to a different storage.”
- “Make uploading better for mobile.”
- “I don’t want everyone to see my new uploads.”
- “Allow assets to Inherit permissions from their collections.”
- “Show more file details when uploading.”
- “Show more information about the file upload status.”
- “Let me add Individual asset permissions for users and groups.”
- “Let me set a transcode priority for my uploads.”
All good ideas, so we delivered them all in the new iconik uploader widget. And we even did better than that.
The new iconik uploader will also allow our users to:
- Accomplish upload and management tasks in fewer steps.
- Track upload progress from anywhere in iconik.
- Have a consistent upload experience anywhere in iconik.
- Have an overall better experience, especially for uploading to collections and assets.
- Have a unified way to handle errors with suggestions to solve conflicts.
The new iconik uploader is a part of our latest update.
Here’s the New iconik Uploader
The iconik uploader provides you with the capability to control your media more efficiently. With the ability to add media, permissions, and metadata from anywhere in iconik, you’ll find that managing media in iconik is even more intuitive.
Contextually Aware Uploads
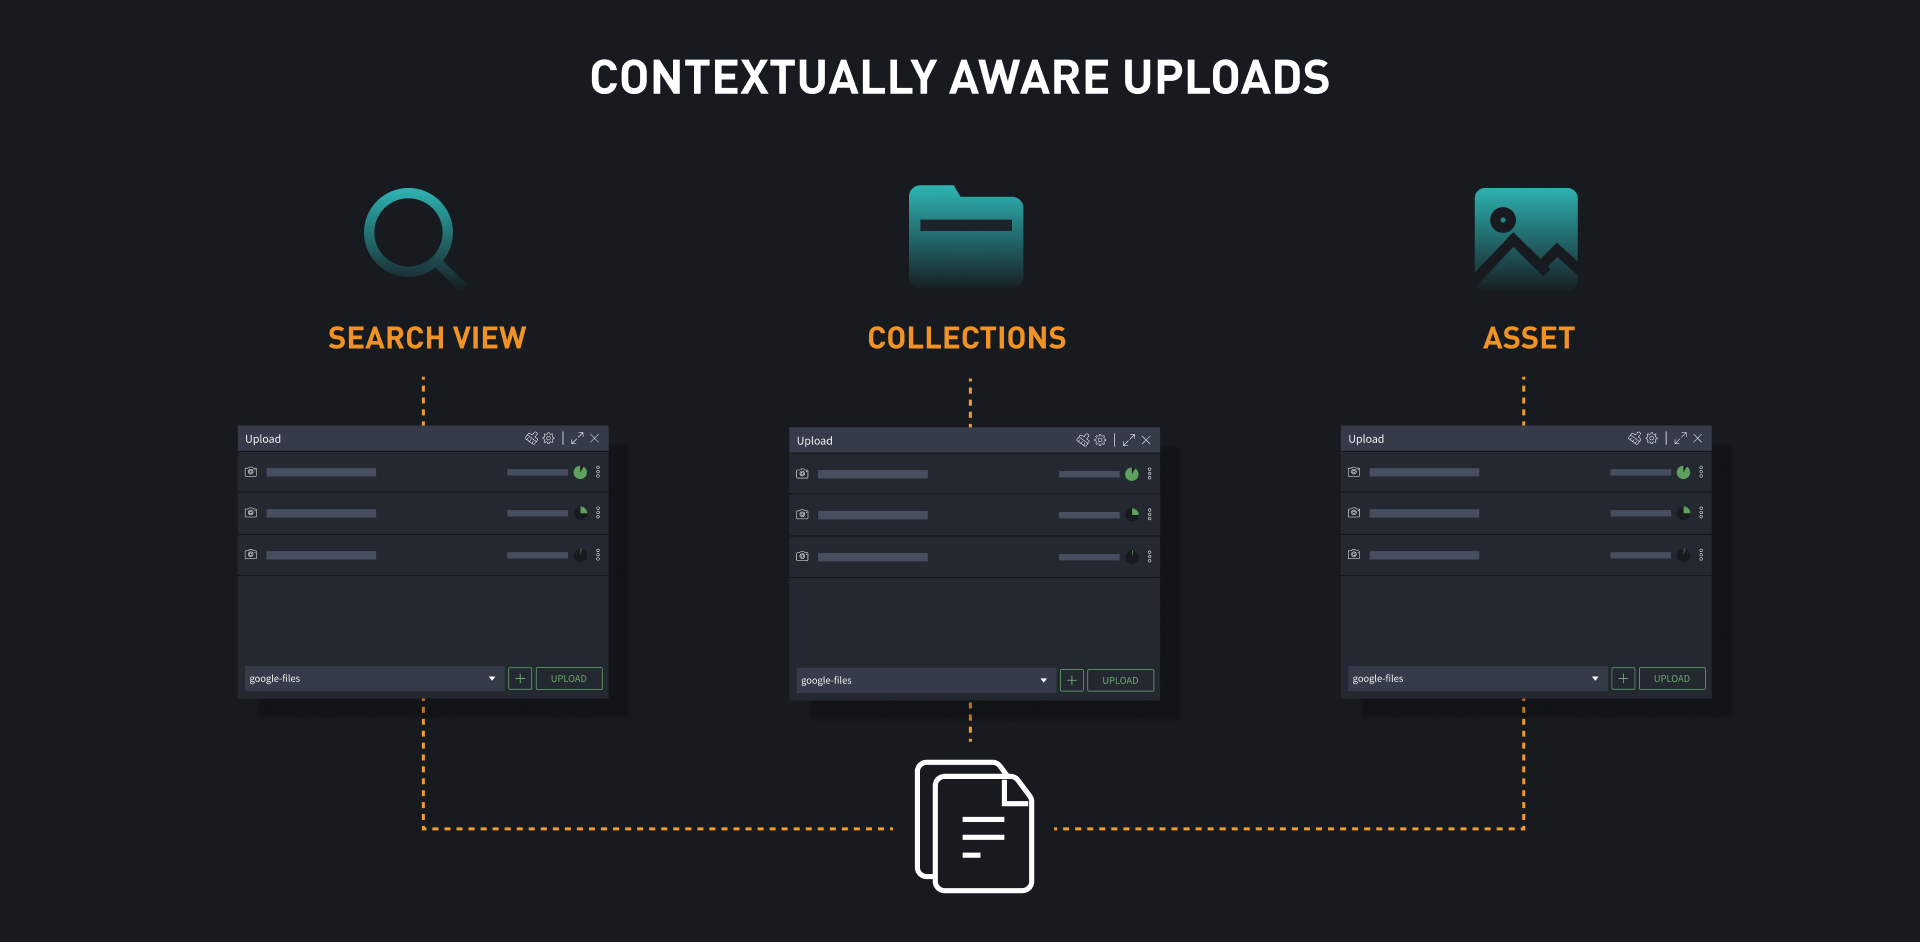
This iconik uploader is a widget that’s designed to make it easier to manage media from the moment it enters Iconik. The uploader is contextually aware – which means it understands where you want to upload files based on where you are in iconik.
- Opening the uploader from the search view will add content to the top-level of iconik
- Opening the uploader at a collection page will add content to that collection
- Opening the uploader in the asset view will add files as new versions, subtitles, formats, etc. into that asset
View File Information
As you add files and choose upload options, you will notice icons appearing next to each file. These icons display information when you hover over them. You can find information such as if the file is in a collection, a version, has metadata, or if it has additional permissions. To see even more file information, click “File info” in the file menu.

Select Where to Store your Upload
Choosing where your uploads will be stored is also really simple. The dropdown menu will display all the storage locations your account has access to.

Adding Permissions When Uploading
With the iconik uploader, you have the power to control your permissions on the fly. You can use the default permissions or keep your new uploads only visible to you and admins by choosing “Only me”. If you're uploading to a collection, your assets will inherit the collection rights by default unless you choose otherwise.

Adding Additional Permissions
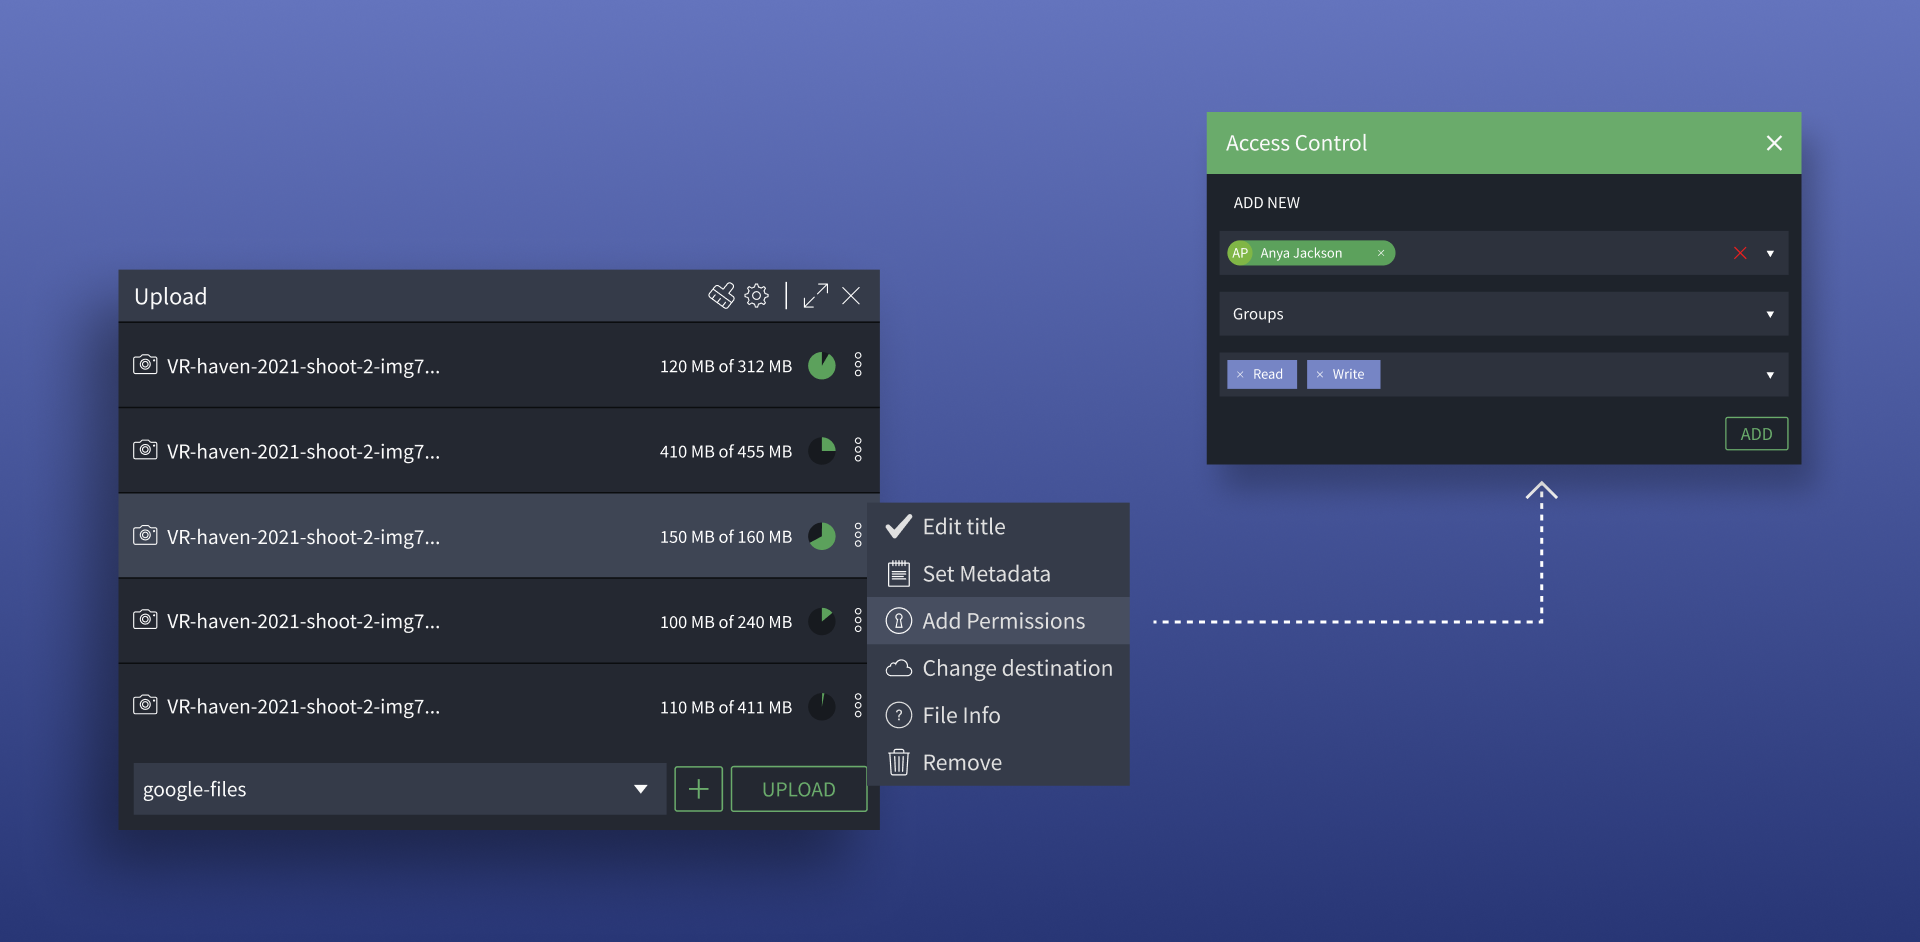
Some rights need to be applied on a case-by-case basis. For this, the uploader allows you to add selective permissions for one or multiple files. It’s possible to grant or restrict permissions for multiple users or groups. This is handy if you need to grant permissions to someone outside of your team or if a new team member hasn’t been added to a group with permissions yet.
Setting Transcode Priorities
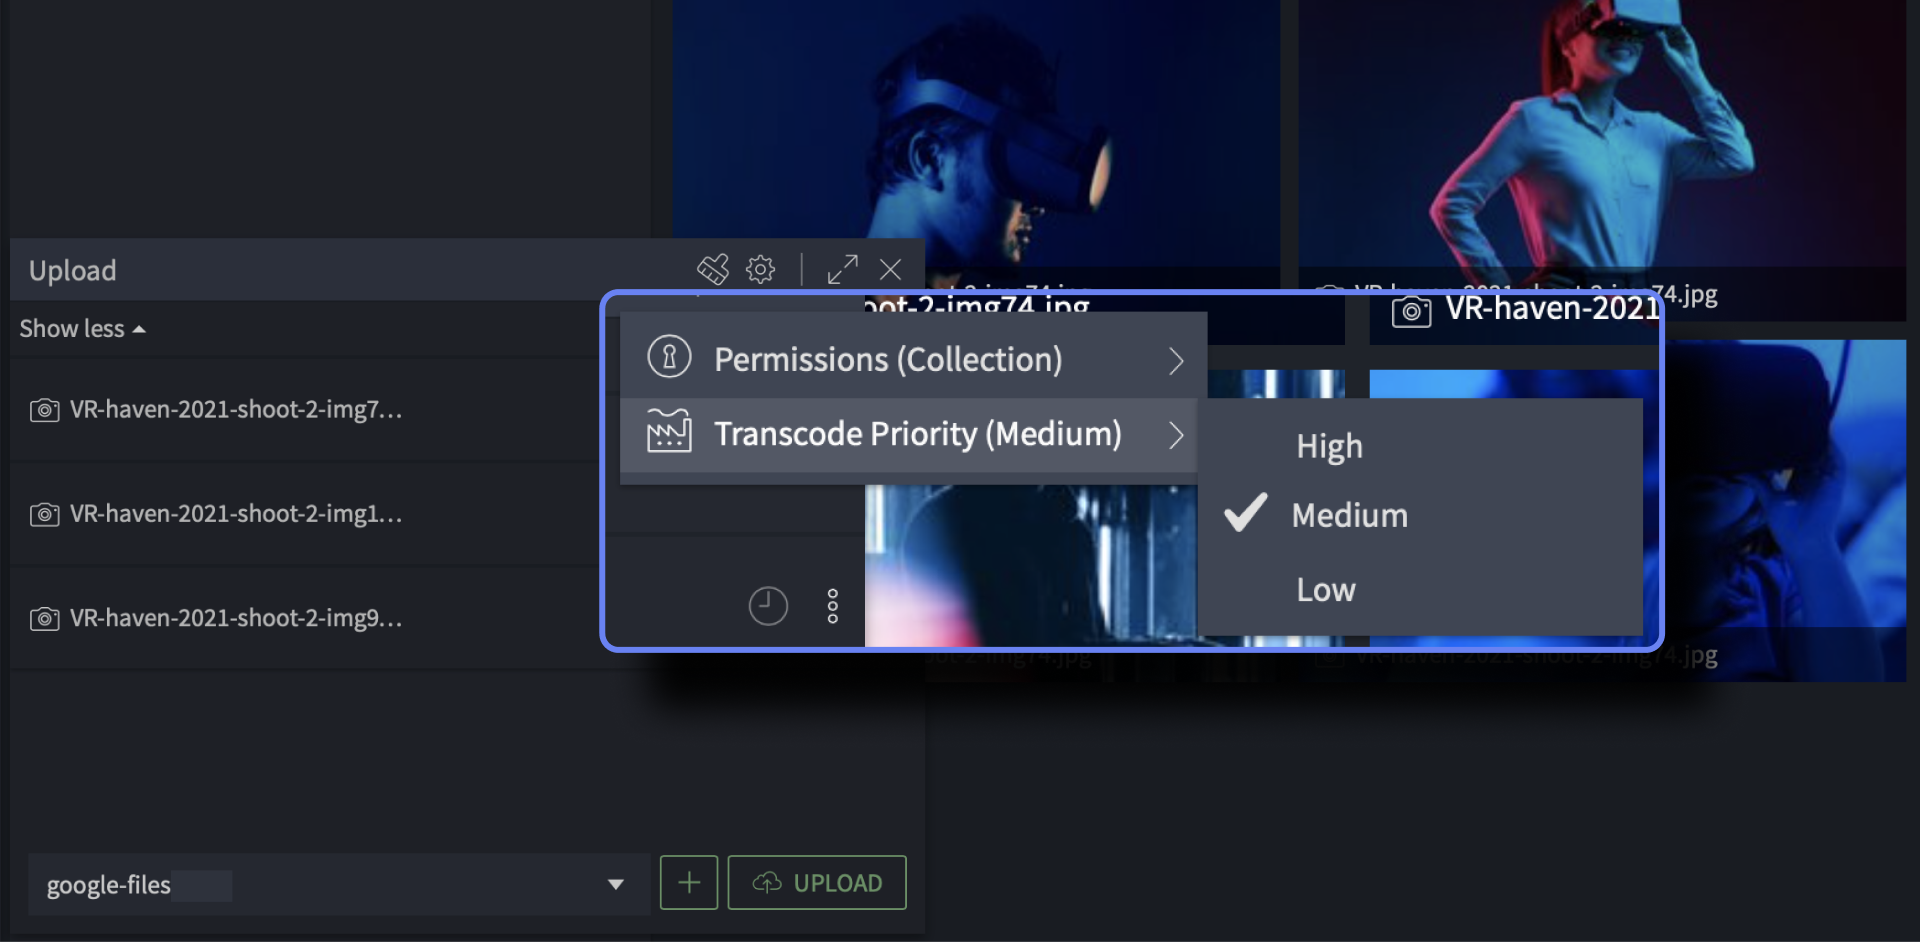
In some special cases, you might have a large number of files, like an old archive, coming into iconik. You could prevent these less important transcode jobs from interrupting your standard day-to-day operations by choosing a lower transcode priority in the uploader.
Go to New Content
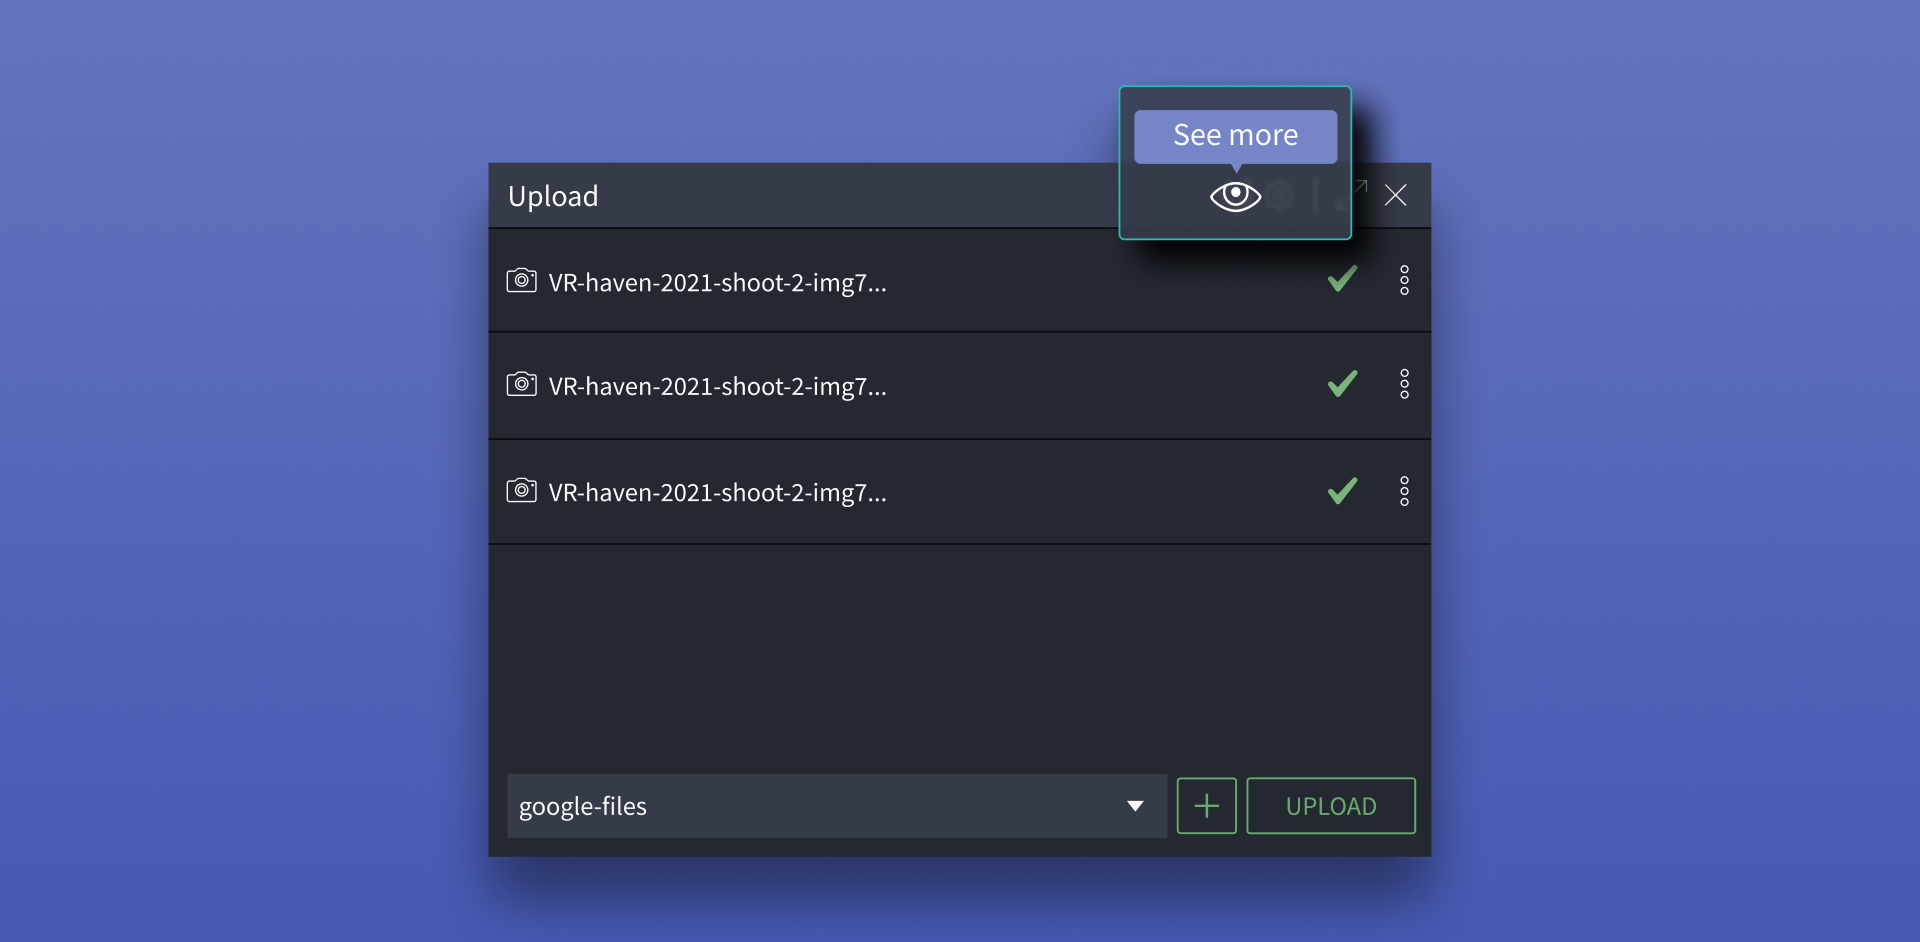
To see your newly uploaded content in iconik, click “see more”. This will take you to a search page showing the latest uploads. One thing you could also do with information is create a saved search in iconik for new uploads. This could be used to find all the new assets that need to be reviewed.
Clear the Upload Queue
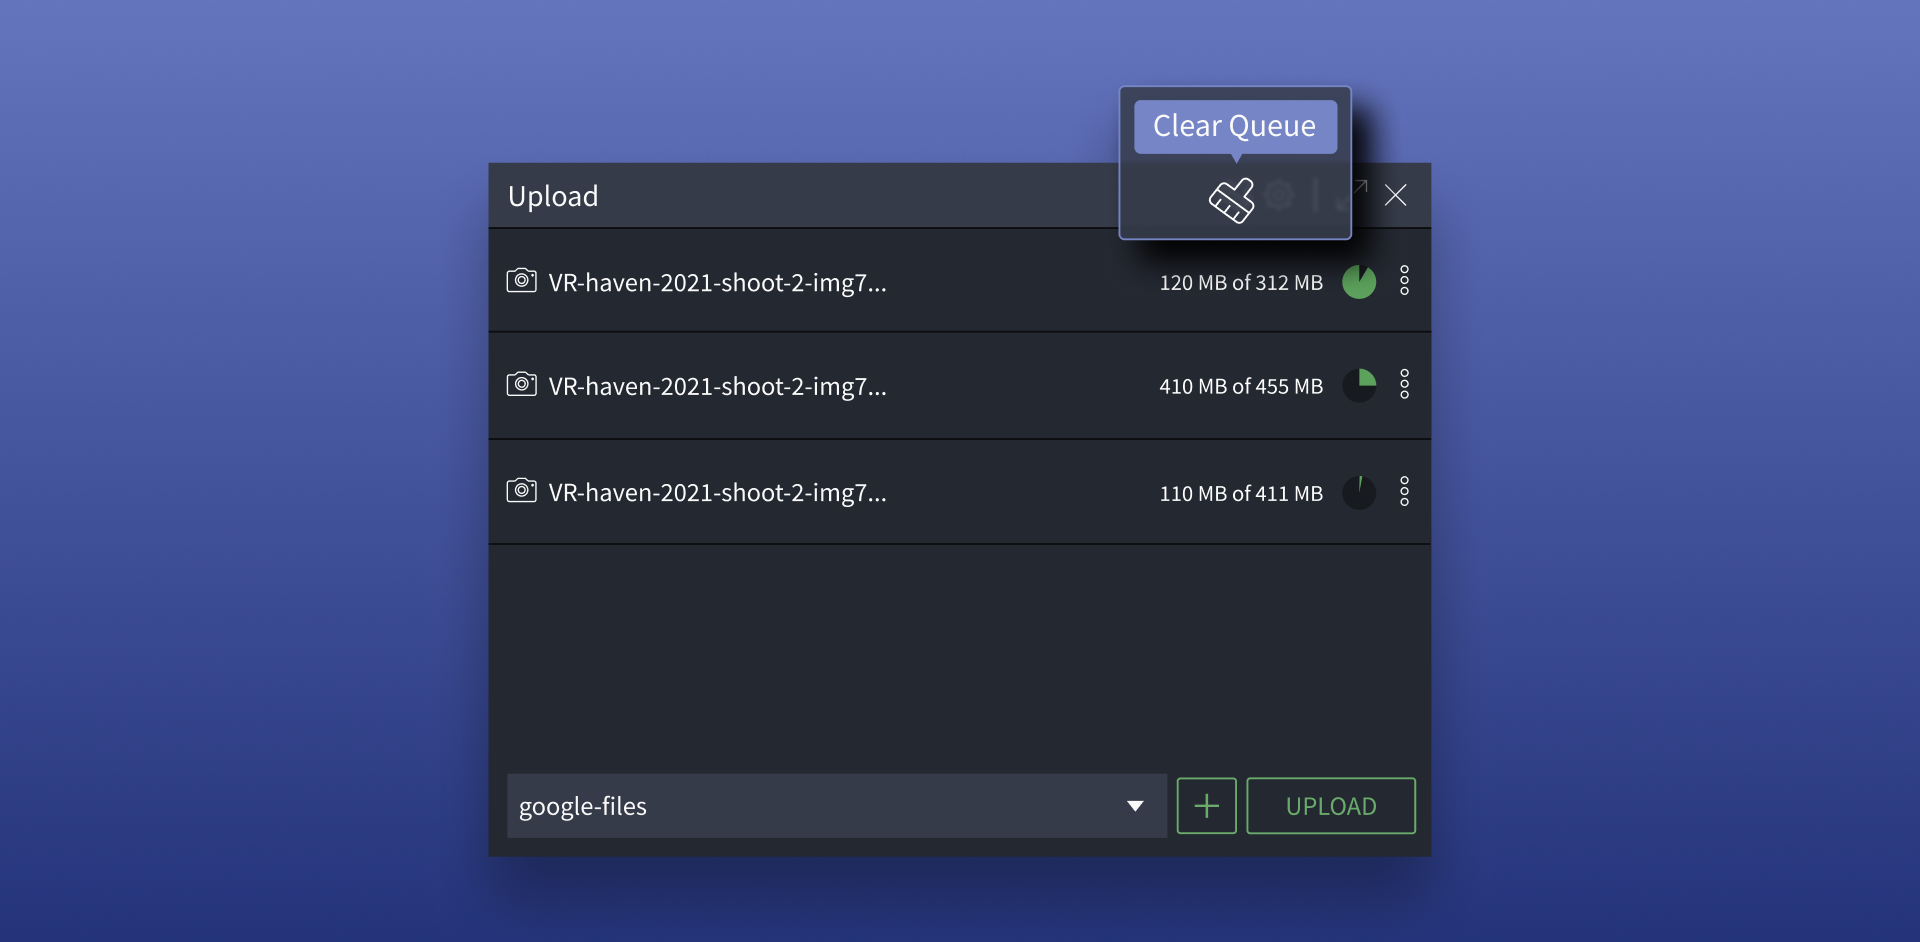
Once uploads are complete, or if you need to remove files from the upload queue, you can click the “Clear Queue” icon to remove them.
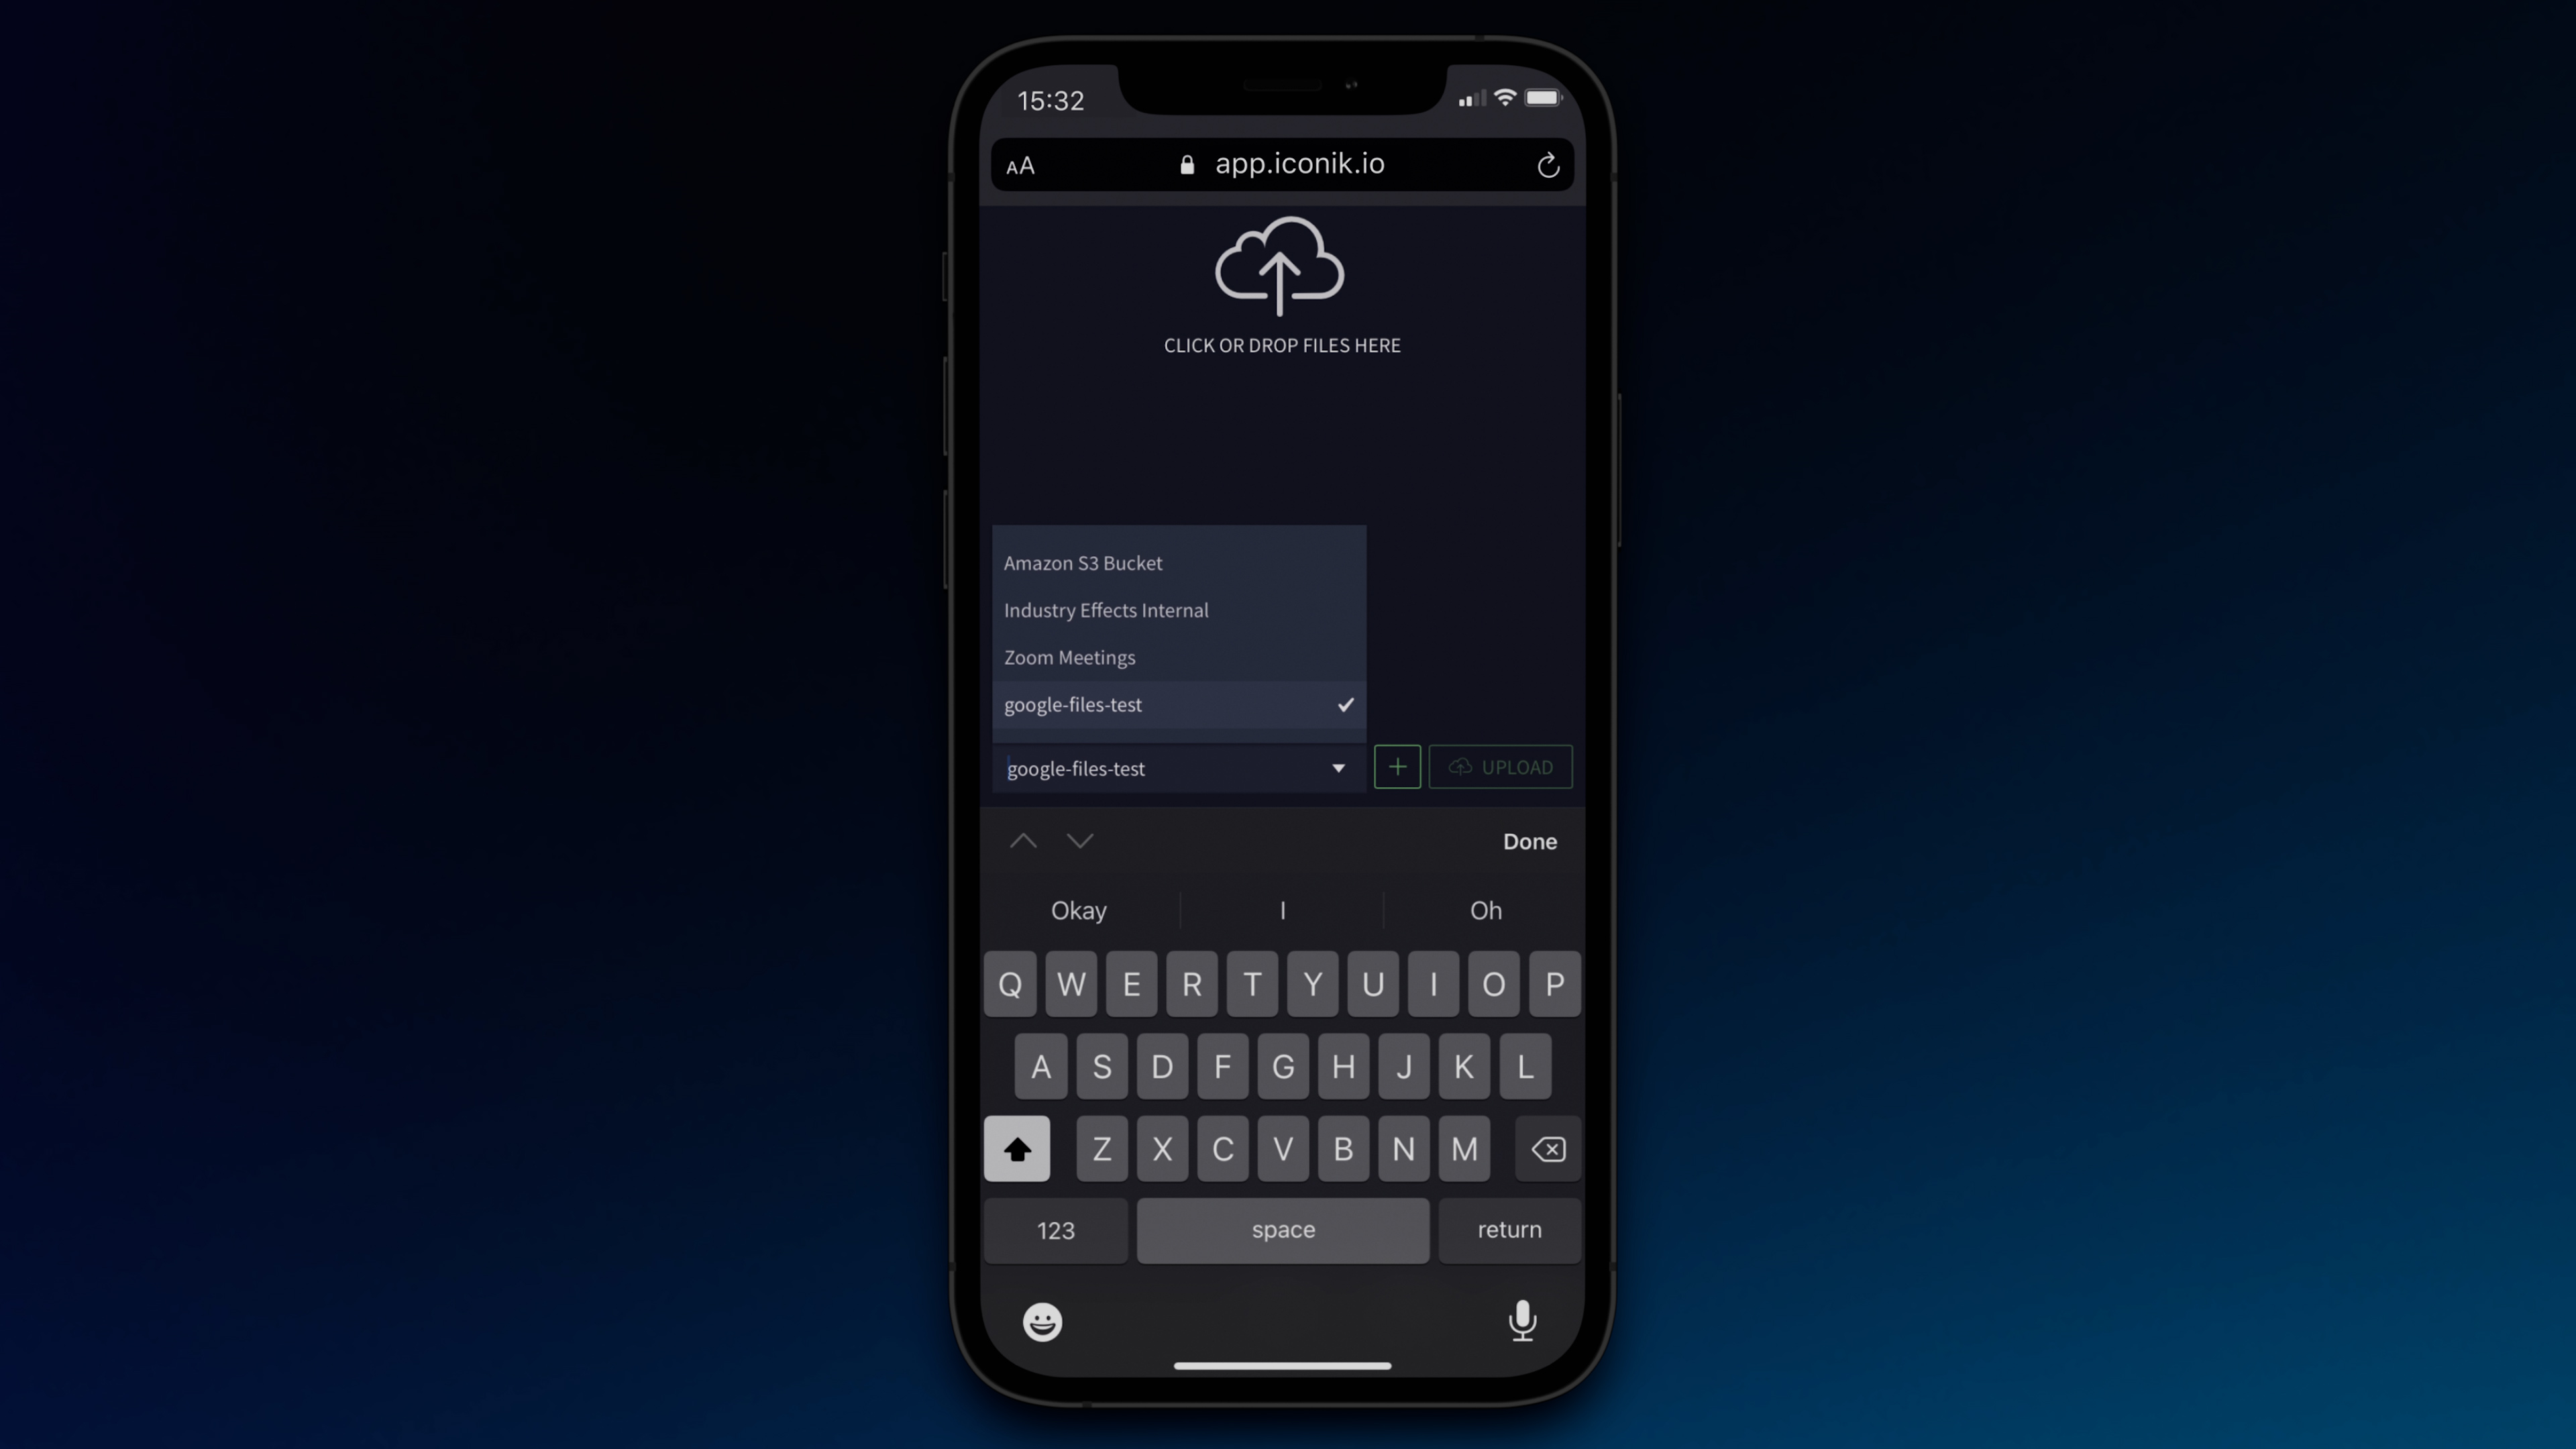
A Great Experience for Mobile Uploading
Working with media can take us to all sorts of different places. The uploader allows you to take all of the great features here with You. You can add and manage media at any moment.
Enjoy!
There you have it. A new way to upload that will save you steps, time, and ultimately let you control your media in a straightforward, unified way.
Note: In case you wondered about the original uploader in the iconik top navigation, that still exists and behaves just as it did before. It will upload content into the top-level search area.
Also in This Update
The new iconik uploader is part of an update which also included:
- New configuration options
- Default search metadata view
- Configure how many days a restore from Glacier should stay online on the Glacier bucket
- Set number of jobs an Edge transcoder pre-loads for a storage
- Better audio proxy quality (192kbit/s)
- And other improvements.
See the iconik release notes here

Take the MAM Diagnostic Quiz
Need better media management?
Get tailored results to see where your biggest wins with iconik would be.
.png)


%20(1).png)
