Work faster in Final Cut Pro with iconik


-min.png)
Share this post
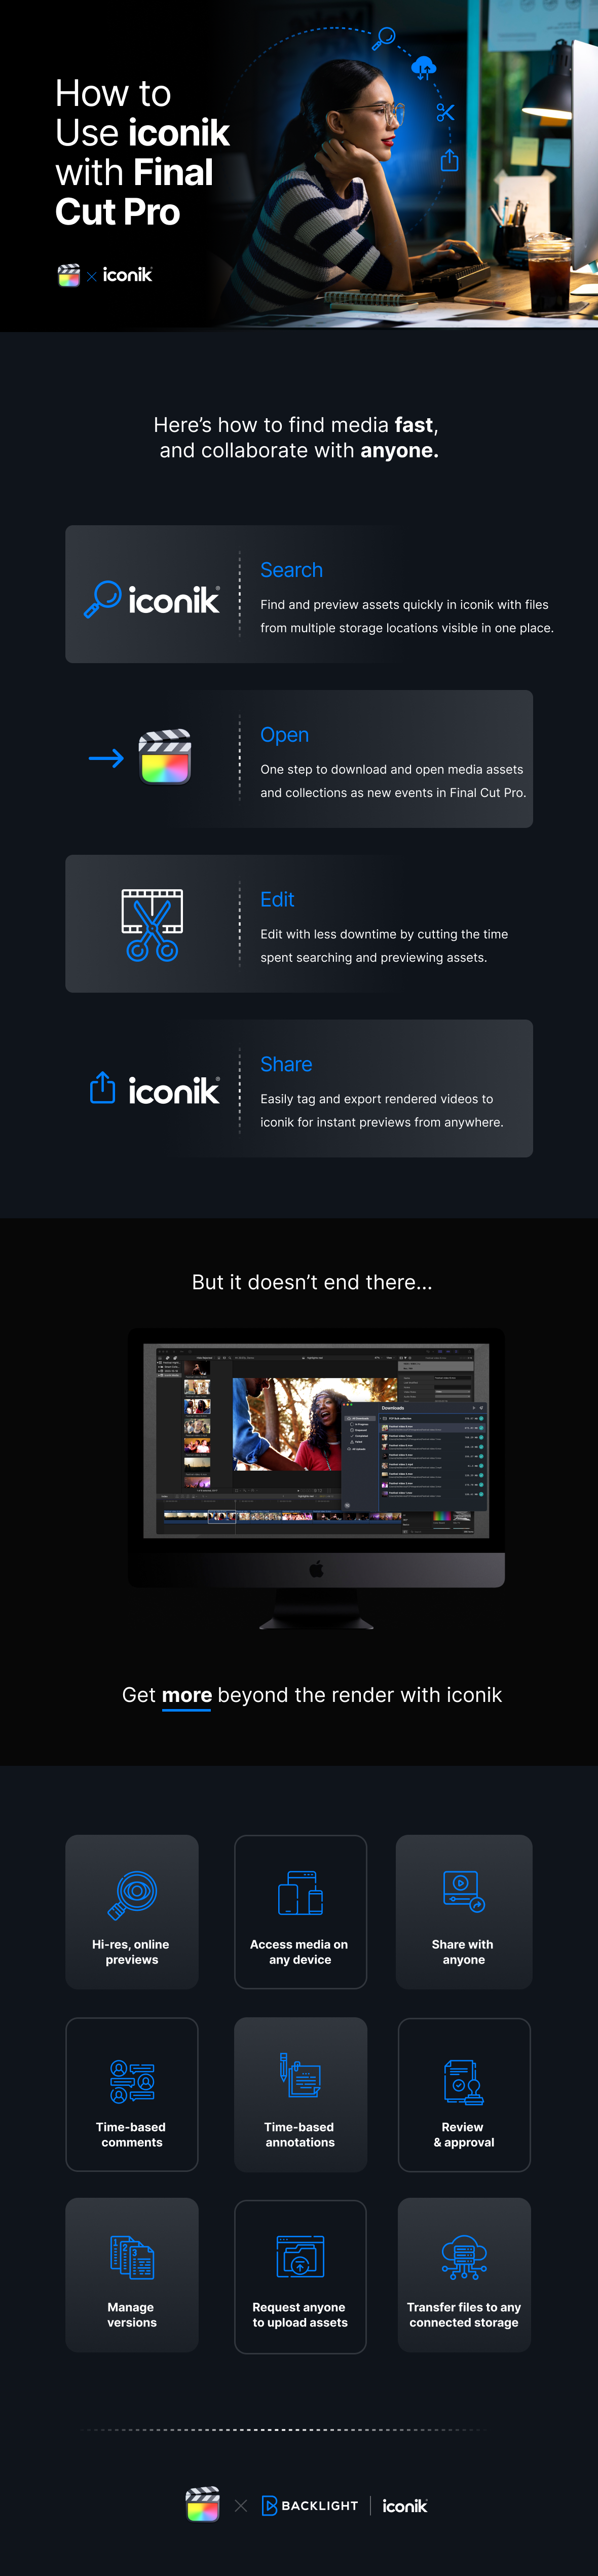
We’re excited to announce a powerful new integration to iconik that aligns iconik’s flexible and accessible media management, search, and retrieval tools with Apple’s Final Cut Pro.
The new iconik x Final Cut Pro integration accelerates the creative process for your video editors, making it easy for them to search their iconik media library and open assets on any storage in Final Cut Pro for editing. Post-editing, their rendered projects can be easily returned to iconik for archive, collaboration, and reuse.
That means faster editing workflows, happy editors, and better video.
More Editing, Fewer Delays.
Editing is the fun part of video production, where creativity comes to life. What isn’t fun is the hassle that comes before sifting through an array of cloud directories, hard drives, and local folders to find assets, enduring lengthy download times to identify required media; and then delivering these assets to the editor, meaning more uploading, waiting, and downtime spent not being creative.
Connecting Apple's Final Cut Pro with iconik, Backlight's cloud-native media management and collaboration hub, makes things easier, with the content you need only a few clicks away.
Iconik presents a complete archive of media wherever it happens to live – perform a search, and iconik will reveal scannable proxies so you can identify the assets you need, whether on cloud storage, on-premises, or sitting on somebody’s laptop. From there, there’s no need to wait for lengthy downloads or pay large egress fees to get your media where it needs to be: simply right-click to open your asset in your Final Cut Pro timeline.
Then it’s time to do your thing and get editing!
Once you’re ready, you can send your final edited sequence back into iconik with metadata from directly inside Final Cut Pro for archival, empowering a full-circle workflow between the two platforms.
Collaborate Beyond the Render.
Iconik isn’t just for indexing assets – it’s a place to collaborate, share, and manage approval workflows with your team members and clients.
Iconik provides a single space to access, organize, manage, and share your media library with everyone, anywhere. There are no convoluted, multi-path requirements to get the information to people, and no lengthy, expensive data transfers are needed because iconik only needs to index proxy files and metadata in the cloud. With your rendered assets in iconik, it’s easy to transfer them to any storage or invite unlimited collaborators to review the work, make time-stamped comments and annotations, and approve media – all in the same place where you manage your asset library.
And then, when you’re done, move your media back into Final Cut Pro to address feedback and make the necessary edits!
Together, iconik and Final Cut Pro present a fast, simple way to get your media where it needs to be and to the people who need to see it – without hassle.
Working faster with iconik and Final Cut Pro:
How to Get Started
- Open the iconik Agent: The iconik Agent is the heart of this integration. It takes care of all file transfers between iconik and Final Cut Pro. It can handle downloads and uploads between various storage solutions supported by iconik, including ISG (iconik Storage Gateway).
- Find what you need in iconik. Use iconik’s powerful search features to see results from your iconik library and any connected storage.
- Open in Final Cut Pro: When you have both the Agent and Final Cut Pro running, right-click on a Collection or Asset in iconik, and you will see the option to ‘Open in Final Cut Pro.’ Selecting this option will start a transfer in the Agent, after which your selected media will appear ready for editing in Final Cut Pro.
- Editing in Final Cut Pro: Start editing, sequence media clips on a timeline, and generally do your thing!
- Export to iconik: After completing edits, navigate to 'File > Share' in Final Cut Pro and choose ‘iconik.’ The iconik Agent will initiate the upload process. You can select the appropriate storage and Collection destination and update or add metadata related to the edit. Once the upload is complete, your file reappears in your selected iconik location.
- Version Management: If you are working on an updated version of an existing project, iconik will detect this and prompt you to decide whether to upload the edited file as a new version or as a new asset. You can also copy metadata, transcriptions, and comments from one version to the new one.
- Collaborate, Share, and Reutilize: Your new edit is now in iconik! Share it with collaborators, make comments and annotations, transfer it to other storages – whatever you need.
Ready to get started?
If you have the latest version of the iconik Agent and Final Cut Pro, you’re almost ready to get going. You can learn more about configuring and installing the integration in our help pages. New to iconik? Request a free trial here.


Take the MAM Diagnostic Quiz
Need better media management?
Get tailored results to see where your biggest wins with iconik would be.
.png)
%20(1).png)
